Serve And Volley › Serve And Volley A Strategy Primer on How to Serve and Volley Effectively A Strat
Serve And Volley A Strategy Primer on How to Serve and Volley Effectively A Strat
← Back to all chapters in Serve And Volley
Serve And Volley › A Strategy Primer on How to Serve and Volley Effectively
A Strategy Primer on How to Serve and Volley Effectively
← Back to all chapters in Serve And Volley
A Strategy Primer on How to Serve and Volley Effectively in Tennis
by Chad Walner | Are you looking to add the serve and volley game to your tennis arsenal? Or maybe you currently serve and volley but just want some tips to improve that part of your game. This post is all about how to effectively serve and volley in singles. Some of the information here will work well for doubles, but we’re going to focus primarily on singles. In order to serve and volley effectively, it’s essential to have a serve with spin and pace that can be placed accurately.
It also requires solid volley technique and the ability to hit overheads. Finally, it requires athleticism, good hand-eye coordination and the right strategy. We talk a lot about the serve and volley game on this blog, hence the name of it. I am a big proponent of the serve and volley style and I use it in singles and doubles matches consistently. It’s very effective against players slightly lower in level and a good way to change things up when facing players your level and above.
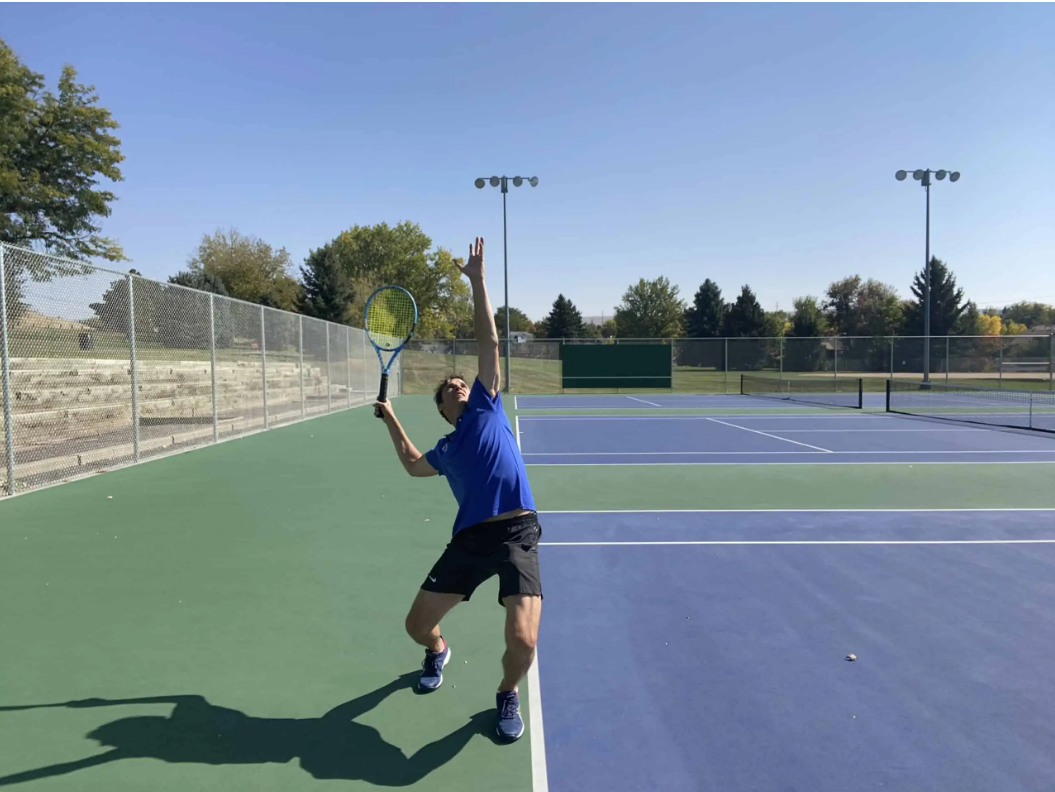
Like most players, I started off as a baseliner who added the serve and volley game later on. While pro tennis has proved (at least for now) that serve and volley is not as effective as the baseline game, it’s still very effective at the club level. I believe you should be using the serve and volley in doubles, and if you have the ability, it can work wonders for your singles game as well. Keep in mind that it takes years to build up a good serve and volley game, so give it some time.
It All Starts With A Good Serve
Let’s face it. You absolutely need a good serve with spin, speed and placement to use the serve and volley as a weapon. If you don’t have a good serve, you’ll be a sitting duck at the net – even at the club level. A poor serve with little pace and spin means players are going to pass you, hit to your feet and lob you. You’ll eventually get frustrated, abandon the serve and volley game, and retreat to the comfortable confines of the baseline.
If your serve is weak, you’ll need to improve it if you want to consider adding the serve and volley game to your tennis arsenal. How much you need to improve your serve is really for you to judge. I’ve seen players with 70 mph first serves come in and volley effectively because they’re playing at a 3.0-3.5 level. If you play at that level, you can get away with a subpar serve. At the 4.0 level and above, probably not.
If you wonder about the level of your serve, here is a simple way to tell if you can use it to serve and volley. Try to serve and volley on every first serve for a whole set against someone at your level. If you get passed every other shot and lose most of the points you come in, then you need work on your serve. If you want to take your serve to the next level, we have articles like this (basic), this (2nd serve) and this (serve toss), and also videos showing you how to serve.
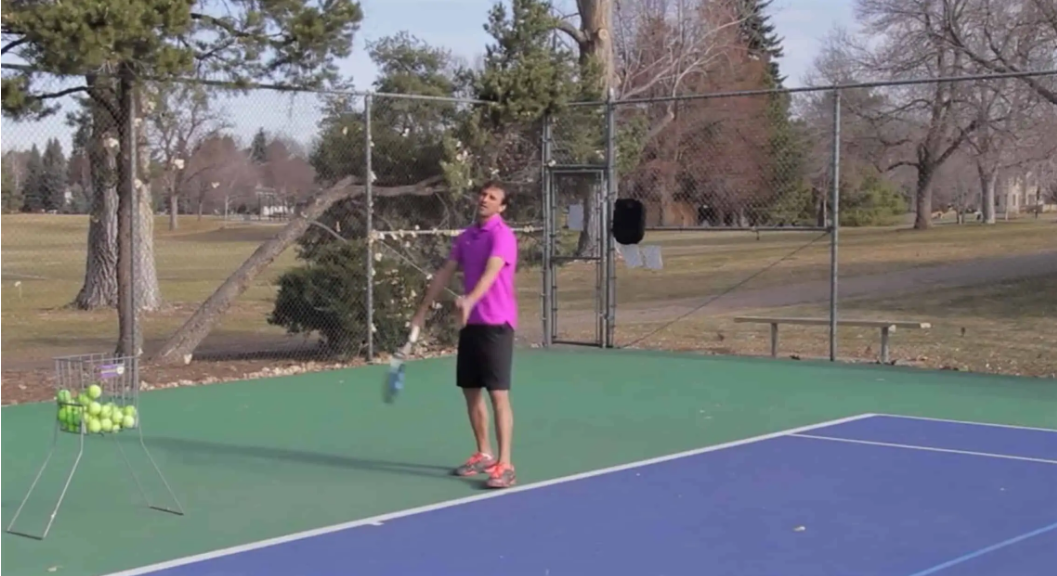
Take a look at our youtube channel. This post is intended to provide you with strategies to serve and volley effectively. It assumes you have the ability to hit good serves and decent volleys at your level of play. Assuming this is the case, we can now talk strategy. Here is a breakdown of what this guide will offer: Choosing the type of serve. Choosing a target for your serve. How to approach the net. How to meet the return at the net. Choosing the type of volley to hit.
Choosing a target for our first volley. Subsequent volleys. Considerations when serving to the ad side. Chip and Charge: a strategy for the receiver.
Mix Up Your Serves
For singles, it’s best to start your serve about 2-4 feet from the mid-line. If we set up further away, we give up too much space on the court. From this position we have several options to choose from: It’s very effective to mix up your serve speed and spin. You should be hitting three types of serve throughout the whole match: Flat serve – This is your fastest serve which has little spin. Kick serve – Your topspin serve, which “kicks” or bounces high off the court.
Slice serve – This serve has side spin and usually stays low and spins in the opposite direction of your hitting arm. There is a difference between a kick serve and a slice serve. A kick serve has topspin, which makes the ball “kick” or bounce high in the air after hitting the ground. This serve can be very difficult to return, especially to the backhand of your opponent. A slice serve has side spin and usually stays low and spins to the left (if you’re a righty) and vice-versa if you’re a lefty.
This serve can also be very effective because it can slide away from the returner – or even directly into them. When I was a kid, I used to love playing and watching baseball. The best pitchers of my day (like Roger Clemens and Greg Maddux) always varied their speeds and spins, which made them so tough to figure out. I suggest you do the same when you serve. Here are the benefits of doing so: Your opponent will always be left guessing which serve (flat, kick, slice) you will be serving.

It will disrupt the return game of your opponent. A kick serve and flat serve can vary in speed by as much as 30-40 mph. These extremes make it difficult for your opponent to time your serve. After hitting all three serve types, you can assess which one your opponent has the most trouble with and key in on it. For example, maybe the flat serve into the body on the deuce court is problematic for your opponent while the kick serve to the backhand gives them trouble on the ad side.
You can determine this as the match progresses. This is a good way to figure out players you have never previously faced.
The Three Different Targets To Serve To On The Deuce Side
When serving to the deuce side, you should be aiming for one of three specific targets or zones on the baseline. Take a look at the diagram here for a visual. Imagine the baseline of the deuce side is divided into three equal widths. The three different targets are out wide, into the body, and up the middle. When using the serve and volley, you should know the answer to two questions before you toss the ball. First, will the serve be flat, kick or slice? Second, which zone will you aim for?
You should definitely be mixing up the serves and zones. Take note during the match which zone gives your opponent the most difficulty. You can then hit to that zone during important points, like break and ad points. You would also want to hit a majority of your serves to that zone, perhaps 50-60% with the other 40-50% split between the other two zones. Now let’s talk specifically about serving to each zone.
For the sake of brevity, the following information assumes a righty is serving to a righty. Obviously, this information will change if a lefty is involved. Serving Out Wide – This can be a very rewarding serve. If you can hit a wide enough angle, you can secure an ace. At the least, you can force your opponent to return way off the court. This usually results in a weak return that you can put away at the net.
It’s best to volley the return to the opposite side of the court (ad side) when your opponent is so wide. Anyone of the three serves, flat, kick or slice, will work when serving out wide. The danger in serving out wide is that if you don’t hit a good angle, you are serving right into your opponent’s strength: their forehand. Your opponent can then rip a return in which they can pass you down-the-line or cross court. So make sure to aim near the line when going out wide.
Into The Body – This is the safest and highest percentage serve but your chance of securing an ace is almost zero. You’ll want to hit a fast, flat serve directly at your opponent. If done right, your opponent will not be able to return the serve to your side of the court. Or, at the least, you’ll get a weak return that can be put away easily. If you try to hit a kick or slice serve to this zone, your opponent may be able to move out of the way and blast a return.
Likewise, if your serve does not have enough pace, your opponent can do the same. So make sure you have some zing on your serve when going into the body. Up The Middle – You’ll probably use your fast, flat serve here most of the time. A kick serve can also work very well (if it has enough pace). And a slice serve can be effective up the middle too, as it would slide into the body of your opponent.
What I like about going up the middle on a righty is that the ball is directed into their backhand, which for 90% of club players is their weaker wing. You can definitely hit an ace on a good up the middle serve. Or, if you can kick the ball up high to the backhand, you’ll most likely receive back a weak return. Personally, I feel targeting a serve up the middle is the most difficult spot to hit for a right-handed server at the club level on the deuce side.
Still, you should be targeting this area.
What Happens After The Serve?
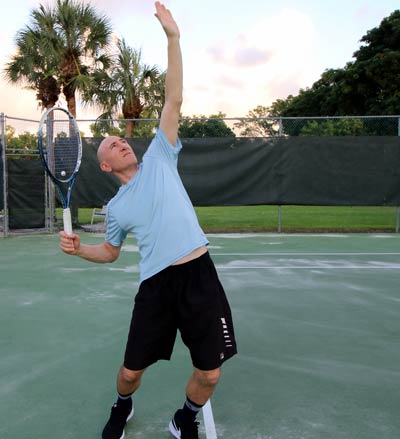
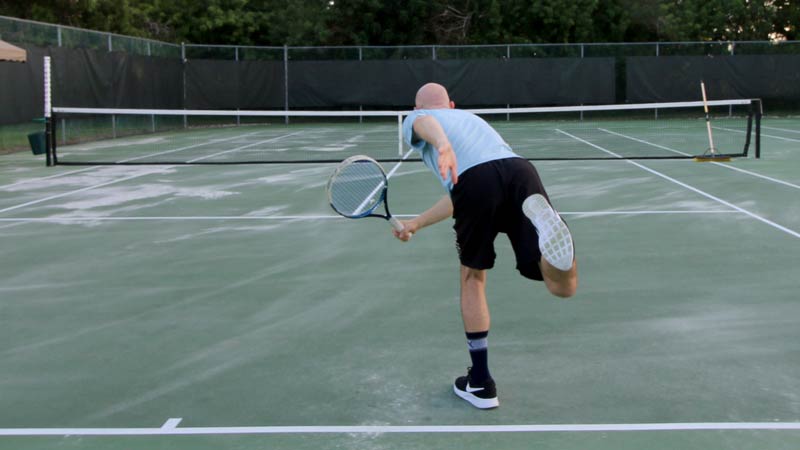
You’ve chosen one of the three different serve types (flat, kick or slice) and selected a zone (out wide, into the body, out wide). You then step up to the line and hit a great serve. Now what? As most of you already know if you play tennis, you’re going to run forward toward the net. It’s called “following the ball”. When done right, the serve and volley is one blended motion. It consists of the serve, landing on the left foot after the ball is struck and running in.
This part of the serve and volley should be seamless and quick. Your footwork here is essential. Without good footwork, you’ll never get close enough to the service line to stick your first volley. I therefore want to mention a couple of important points about it before we move on. Almost all right-handed players will want to land on their left foot after serving. This holds true for any and all types of serve by righties.
By landing on your left foot, you’ll thrust your weight forward which makes for a bigger serve. You’re also creating forward momentum that will propel you towards the net. Take a look at any right-handed player on the ATP or WTA tour. You’ll see all of them land on their left foot when serving. Once you land on your left foot, your upper body should be slightly over your left leg, which will cause you to “fall” forward.
You want to use this forward movement to take your first step with your right leg. You then run toward the net as quickly as possible. An important key here is to stay slightly lower on your run than you normally would. This means arching your back slightly forward, maybe 10 degrees. By doing so, you get to net quicker and split-step easier.
Follow The Path Of The Ball
We know we will come to net after the serve. But what’s the best path to come to the net? When the serve is performed correctly, our momentum takes us forward into the court. So where do we go from here? The rule of thumb for almost all serve and volley points is to follow the path of the ball. The wider the serve on the deuce side, the sharper our angle of approach. See the diagrams I included above for a good visual description of how to approach each zone.
If we are going into the body, then we run at a less sharp angle. Since the serve is being directed into the body, our opponent will not be able to hit down the line as easily as when we go out wide. We can, therefore, approach further from the line, covering more of the middle of the court. But what if we serve up the middle? Again, we follow the path of the ball. Our line of approach will be at a very slight angle, running almost up the middle of the court.
If you hit a well-struck serve to your opponent’s backhand (which will happen if you hit this zone), you should receive a weak return, ripe for a put-away. Be careful though. If your opponent has time they can pass you in either direction. It’s much more likely they pass you by hitting to your ad court (left side of your court) than to the deuce side (to the right of you). This is because hitting a good, inside-out backhand on a return is difficult – plus you are approaching from the deuce side.
Decisions At The Net
1) The Hop And Split Step When you see your opponent go into their backswing for the return, you’ll want to stop and split step. The stop is not abrupt though. That would be inefficient and will never work in a real-world scenario. Instead, it involves a hop. At first, it may seem challenging to do, but after some practice, it becomes second nature. As your opponent goes into their backswing, you’ll literally hop off one leg (I like to hop off my left) and “jump” into the split step.
I see so many club players miss doing the hop, which causes them to split step a little too far from the net. Just a foot or two difference from the net can mean hitting a volley off the ground (half volley), which is not preferable, or catching it in the air (preferable). The hop allows you to cover more distance and spring forward out of the split step easier. What exactly is the split step?
The split step occurs when you come to a full stop with both feet directly under you, slightly wider than shoulder width. The split step is used by professional players everywhere on the court, but when close to the net, you’ll want to adopt a wider than normal stance and get slightly lower. This allows you to push off in any direction quicker. Key Point: When approaching the net after the serve, keep the racquet in front of you and maintain the continental grip (like gripping a hammer).
I like to keep the racquet in a neutral position about chest high. A neutral position means it will take the same amount of time to hit a forehand volley as it does a backhand volley. I see way too many players run with the racquet on one side of their body, which makes it nearly impossible to volley a high-velocity return on the other side. You should also keep the racquet head slightly higher than the hands.
This will set you up to volley in the correct position. 2) The Flowing Volley In tennis, there are very few black and white protocols, such as always do this and never do that. Some players ask me where they should follow through on their forehands. The answer is that it depends and varies on the situation. The same is true of the split step. Most of the time you’ll split step in the manner I described above. But sometimes you’ll want to keep running and not hop or split step.

This is called the flowing volley and it requires more hand-eye coordination and timing. We can define the flowing volley as hitting a volley while still moving forward. You’ll want to incorporate the flowing volley in your game, even though it is more of an advanced way to approach the net. Here’s how to do it. Simply continue to run forward but slow down some to hit the volley. Only after the ball is struck will you stop.
It’s important you start setting up the racket before you get to the ball. When is the best time to use the flowing volley? I’ll outline them below. The return is hit so slow that you don’t need to split step. Instead, you continue to run towards the ball and use a drive volley to put it away. In some instances, you can hit a swinging volley. You can also employ a drop volley. If you want to know about the seven volley types, you can read an entire article we wrote on the subject here.
If you see the ball starting to drop low, you may want to continue running to take it out of the air. This is usually the case on soft-to-medium hit returns. On hard hit returns to your far right or left, it’s not advisable to use the flowing volley. If you don’t have enough time to move up to the service line, you may want to sacrifice the split step to get closer and better position. This is a gamble though. If the return is hard hit or is near the lines, you’re in trouble.
But if the return is medium pace, or even fast pace but directly to you, you can still recover and hit back a defensive or decent volley. On a slow-paced return, you should have no problem adjusting.
What To Do On The First Volley
You serve, hit your zone, and your opponent returns at a medium pace right to your direction. Whether you split step or not, you have a great chance to hit a good first volley. So which type of volley do you hit? And where do you place the volley? We will define four targets for the first volley. The target you choose is dependent on where your opponent and yourself are on the court. Additionally, the speed and height of the return will determine the volley response.
One more quick word on the first volley. While our goal is to always hit an unreturnable first volley and win the point outright, we need to be prepared to hit a second volley. It might be better to think about your first volley as a shot that sets up the second volley. This will take some pressure off your first volley. Remember, whether it takes one volley or five volleys, if you win the point, then goal accomplished.
Which Volley Do I Hit?
I wrote a long and detailed article with photos showing the seven different volley types. I won’t repeat the information again here, but I will touch on which volleys to use and when. If you don’t know the seven different volley types, I highly recommend reading that post. It will be very helpful to your volley game. 1. Drive Volley – Use this volley on slow-hit shots. It’s vital you use the drive volley to decisively put away slow.
If not, the point is likely to continue and the chances of you being passed increase. You can always tell if you’re playing against an expert volley player by how easily or not he puts away sitters. The greats do it 9 out of 10 times and often the returner will have no chance to even get a racket on the ball. 2. Swinging Volley – I like to use the swinging volley when I get a looping shot with little pace.
Usually, the shot will be too low to hit an overhead smash, so I set up for a swinging forehand volley. The swinging volley should easily end the point and has a bit more power than the drive volley. I don’t recommend hitting a backhand swinging volley to beginner and intermediate players, but if you can manage it, then go for it. 3. Punch Volley – Hit this volley when you receive a medium-paced return. All we’re doing is blocking with a little “punch” or forward movement of our racket.
Optionally, you can step forward with the opposite leg when volleying to give the ball some pace. 4. Block Volley – Use this volley when your opponent hits a screaming groundstroke in your direction. With this volley, you’re just blocking or deflecting the ball to your opponent’s side of the court. Make sure to hold the racket with a loose grip and allow it to have some give when impact is made (how much will depend on how far you’re volleying from the net).
I see many club players make the mistake of trying to hit a punch volley on high-paced returns. Sometimes the less you do, the more you accomplish. The same is true for the volley – less movement and take back is often better. 5. Half Volley – If you serve and volley a lot, you’re going to be forced into half volleys on many occasions. A half volley is when the ball hits the ground before you volley it.

Since half volleys are generally defensive shots (though they can be turned into offense as well), your first goal is to get the shot back and over the net. Most of the time you’ll be volleying up and directly off the rise. If you feel like you have a good chance of returning the half volley, your best bet is to just place it well. Don’t worry about hitting it hard. Often a dropper right at the net can win you the point. 6.
Drop Volley – This brings us to the drop volley, which I mentioned before. It is simply a volley that you place close to the net. This volley works best when your opponent is behind the baseline, not fleet of foot, tired or flat-footed. However, even the fastest players can’t get a racket on a well-placed drop volley. They are subtle can be very effective. 7. Overhead Smash – If you serve and volley, you’re going to get lobbed.
You have to be willing to hit overheads and work on that part of your game. When an overhead is hit, turn to your side and get your racket into the “trophy” position. Use proper footwork to back up and when you set, place your weight on your back foot. When hitting the overhead, try to transfer weight onto the front foot. Keep in mind you need to have some racket speed to hit a decisive winner, though placement (with a slower struck shot) can be your best friend on an overhead as well.
Where Do I Place My Volley?
Let’s define four locations, as each is effective in different circumstances: Location # 1: Behind – The first location is behind your opponent, out wide. From your perspective, you’re volleying to the left of your opponent. Location # 2: At – The second location is directly at your opponent. This sounds like a bad idea, but it can work great if you hit a fast-paced volley to an opponent who has returned from out wide. Location # 3: Ad – The third location is to the open ad court.
Location # 4: Drop – The fourth location is a drop volley close to the net.